The Ulitmate Guide To Stacking Logs
Whether you rely on firewood to heat your home or simply enjoy unwinding by the fire pit after a hard week, understanding how to stack logs properly is vital.
Stacking logs is not just about the appearance, although there is certainly a charm that comes from a natural display like this. Instead, it is about ensuring your firewood is protected, seasoned, and ready to burn whenever needed.
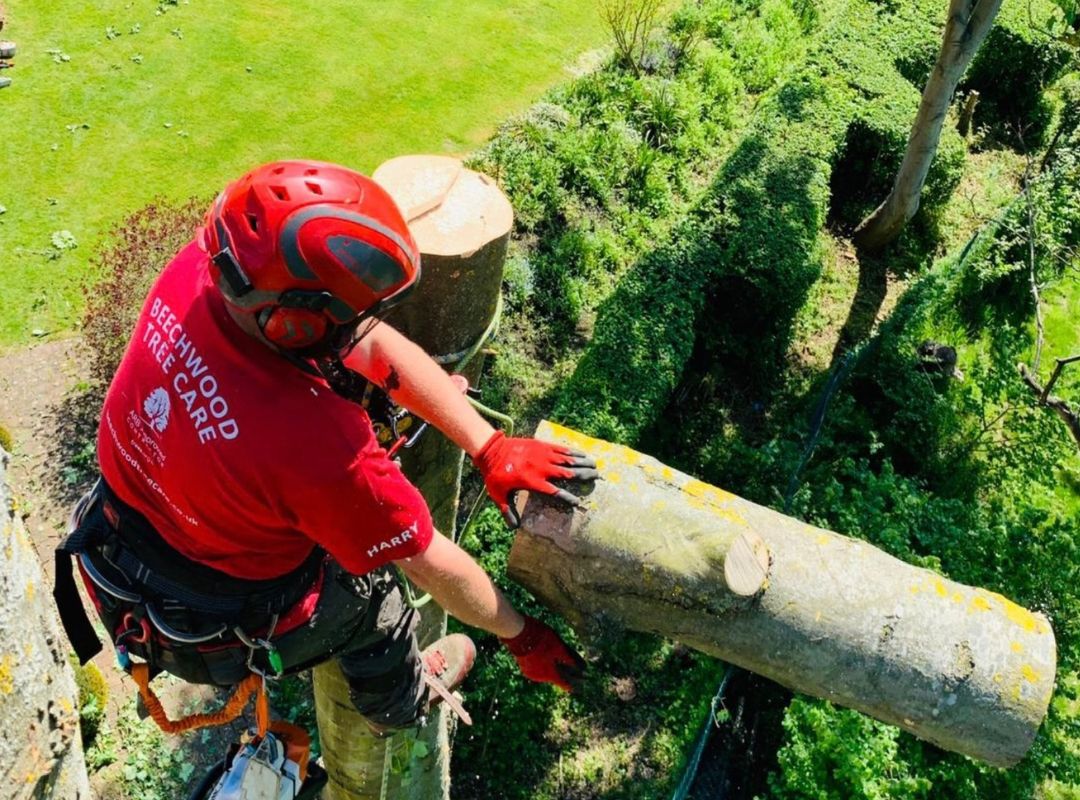
At Beechwood Tree Care, we specialise in trees and understand exactly what they need to thrive – this includes when they are no longer in the ground. In this guide, we are using our expertise and passion for tree care to share the best process for stacking logs so you can be prepared for all weather.
The Importance Of Properly Stacking Logs
While your main focus may be on curating enough firewood, how you store it is just as important. Stacking logs is more than just an aesthetic choice, as it also serves several practical purposes, such as:
- Seasoning: Freshly cut logs, also known as green wood, contain a lot of moisture that must be completely dried out to ensure that fire burns cleaner and more effectively. Stacking logs properly allows air to circulate, which speeds up this seasoning process.
- Rot Prevention: As freshly cut logs contain moisture, they can be subject to decay and rot if not stored properly. Learning how to effectively stack logs allows for better airflow, which dries out the logs and prevents issues such as mould and rot growth.
- Space-Saving: A well-stacked pile of logs will take up minimal space without compromising how much wood you have access to.
- Safety: Logs are heavy and can pose a significant threat of injury or damage to property if they are piled loosely. Learning how to stack logs effectively eliminates this risk by ensuring the firewood is secure, yet accessible.
Tools Required Before Stacking Logs
To ensure that you can properly store logs and create a safe environment with your firewood, you first need to ensure that all logs are split and cut into similar sizes. This provides consistency and will make it easier to stack firewood.
You also need to have a dedicated area for stacking logs, which should be on a flat surface. To make the process easier, you could also invest in a firewood rack or base. This is an optional step, as you can stack logs securely without any framework, but it may be a good idea if you are concerned about stability and airflow.
If you are storing wood outside, where it will be exposed to the elements, a cover will be required to protect it from snow and rain. Tarp is a good option for this, as it is affordable, accessible and covers a large surface area.
You should also wear protective gloves when handling firewood to protect your hands from splinters and cuts. Ensure that children and pets are kept away from the logs when stacking, and maintain ongoing safety by showcasing that this space is off-limits to them.
Where Should I Store My Firewood?
Where you stack your logs matters and should be considered carefully before beginning this process. To ensure that your logs are stacked efficiently and will avoid the issues mentioned, ensure that your chosen storage space provides the following:
- Elevation: Stacking logs directly onto soil can trap moisture, leading to rot and decay
- Accessibility: There is no point in storing logs that you cannot use for your fire or wood oven, so make sure that you are stacking logs somewhere that is within reach of your home. This will become especially vital during winter months.
- Ventilation: Logs should be stacked in an area that offers good air circulation to aid with seasoning.
- Sunlight Exposure: If possible, aim to store your stacked logs where they will be exposed to sunlight as this can help dry them out and speed up the seasoning process.
Once you have found a suitable location for your wood pile, it is time to begin the process of stacking logs correctly.
Our Step-By-Step Guide To Stacking Logs
1) Prepare The Base
As with all structures, the foundation of your woodpile is essential and needs to be well-prepared to ensure stability.
There are several ways you can prepare the foundation for your log pile, such as using pallets, metal racks or even by using a few logs lying horizontally to create a base. No matter what material you choose, the goal is to keep your firewood off the ground to prevent moisture from seeping in and becoming trapped within the wood.
2) Sort Logs By Size
It is recommended to cut firewood by splitting logs and ensuring they are all a similar size, as this helps with balance and uniform drying of the pile. Although all logs should be a similar size, there will be some differences and now is time to sort them.
Separate logs by size, so you can start stacking with the larger, sturdier logs first. These should go at the bottom of the pile, as they will create a stable base, whereas smaller, lighter logs can go at the top.
3) Stack Criss-Cross For Stability
To prevent the logs from tumbling once they are in a pile, you will need to create sturdy bookends.
The best method for this is by stacking wood in a criss-cross style, which means using two parallel logs as the base, and two on top sets at a 90-degree angle. Repeat this pattern until you have a solid pillar at both ends of the pile that anchors the stacking logs in place.
Not only does this process ensure stability, but it is also highly attractive so your firewood can be part of the decor.
4) Securing The Pile
Now that the ends are in place, it is time to begin stacking logs for your main pile. To do this, place each log horizontally, ensuring that the cut end faces outwards as this needs to dry out over time.
Stacking logs tightly is a great way to maximise space and ensure that you have a great supply of firewood to see you through the cold weather, but do not get carried away. You need to ensure that there are small gaps left in between logs and levels for airflow. Stacking logs too tightly together can prevent airflow, which hinders the seasoning process and renders your firewood useless.
5) Maintain The Level
As you continue stacking logs, keep an eye on the level of the pile as a whole as this determines how stable is it. Any slight lean or imbalance could lead to the pile collapsing over time, which is not only annoying but potentially dangerous as logs can be heavy.
If you do notice any tilting when stacking logs, adjust them as soon as possible and keep this up as you go to maintain the level of the whole pile.
6) Cap The Stack
Once you have reached your desired height for the woodpile, which should be no more than 4 feet, you need to cap it. This is done by turning the top layer of logs bark-side up, which will help shed rainwater more effectively than the cut side of the log.
This limits the amount of moisture your woodpile is exposed to, ensuring all logs will season correctly and be suitable to use when needed.
What Kind Of Wood Is Best For Stacking Logs?
Not all firewood is created equal, and some trees provide better wood for the process than others both in turns of the burining qualities as well as how easy it is to stack logs.
If you are stacking logs to use for home heating and cooking, such as in a log burner, hardwood is your best option. Wood such as oak, beech and ash burns hotter and lasts longer than other options, making it more effective for this purpose.
However, for kindling, softer wood such as pine or spruce can be used as these ignite quickly, but burn faster.
Conclusion
Stacking logs may seem like a simple task initially, but there is a lot to consider that requires you to take your time. The way that you stack logs can impact how effective they are as fire fuel and whether your home remains safe.
By following these steps and taking your time to properly stack logs, you can maintain a healthy woodpile that is safe, clean and burns efficiently.
Contact Us Today
At Beechwood Tree Care, we specialise in all things trees – including wood. If you would like support regarding firewood and how to properly care for logs or have queries about the trees in your landscape, we can help.
Contact us today to request a consultation or to learn more about what we do.

